
Our laundry room has to be the most boring room in the house, and yet I find myself typing out a
This job was pretty simple actually, and totally unplanned. The Frosthaus came with a nice shelf unit in the laundry room when we moved in. It was handy for hanging shopping bags and swimsuits from, but was way too big for the space it was in. On the weekend, when it suddenly and unexpectedly fell from the wall, it was a chance to rebuild.
Before I get into the rebuild, here is the rundown on the old shelf...

The shelf was a "Stenstorp" from Ikea, installed by the previous owners at least twice in the past. The reason I know it was installed at least twice previously is because of the holes where it had torn out of the wall at least twice in the past.
I think the reason the shelf held so poorly to the wall is because the hooks are out from the wall by about 5", rotating the loading on the screws, and making the load much heavier at the attachment points. The Ikea website also says the shelf is rated to hold 50 lbs. At 120 cm long (4ft) it is very easy to exceed 50 lbs with the shelf above and hooks below.
The particle board shelf had suffered from the high humidity in the laundry room and was coming apart at the seams. It also had some damage from previous falls, and it was oversize. The laundry room door couldn't open all the way with the shelf in the way. It wasn't a very good choice for the room, but it looked really nice.

On Ikea's website, the shelf is shown with a retail price of $49.99. My rebuild used a $10 piece of pine from Home Depot and the old hardware from the Stenstorp. I have no idea what the retail price on the three hooks I salvaged is. I suspect it is less than $40.00. I also used a mittful of screws I had on hand.
To make the new shelf, I disassembled the old one, and traced the end brackets onto a piece of knotty pine from Home depot. The bracket sides are 7-3/4" by 8-3/4". I cut the arc on the bandsaw, then clamped the two pieces together and used my new belt sander to profile both together so the curves would match.
I ran all the pieces through the router with a small roman ogee bit in order to fancy up the edges a little.
I cut rabbets to better lock the back board and front board in place, and then glued and screwed everything together. I need to putty the screw holes, but that's details.
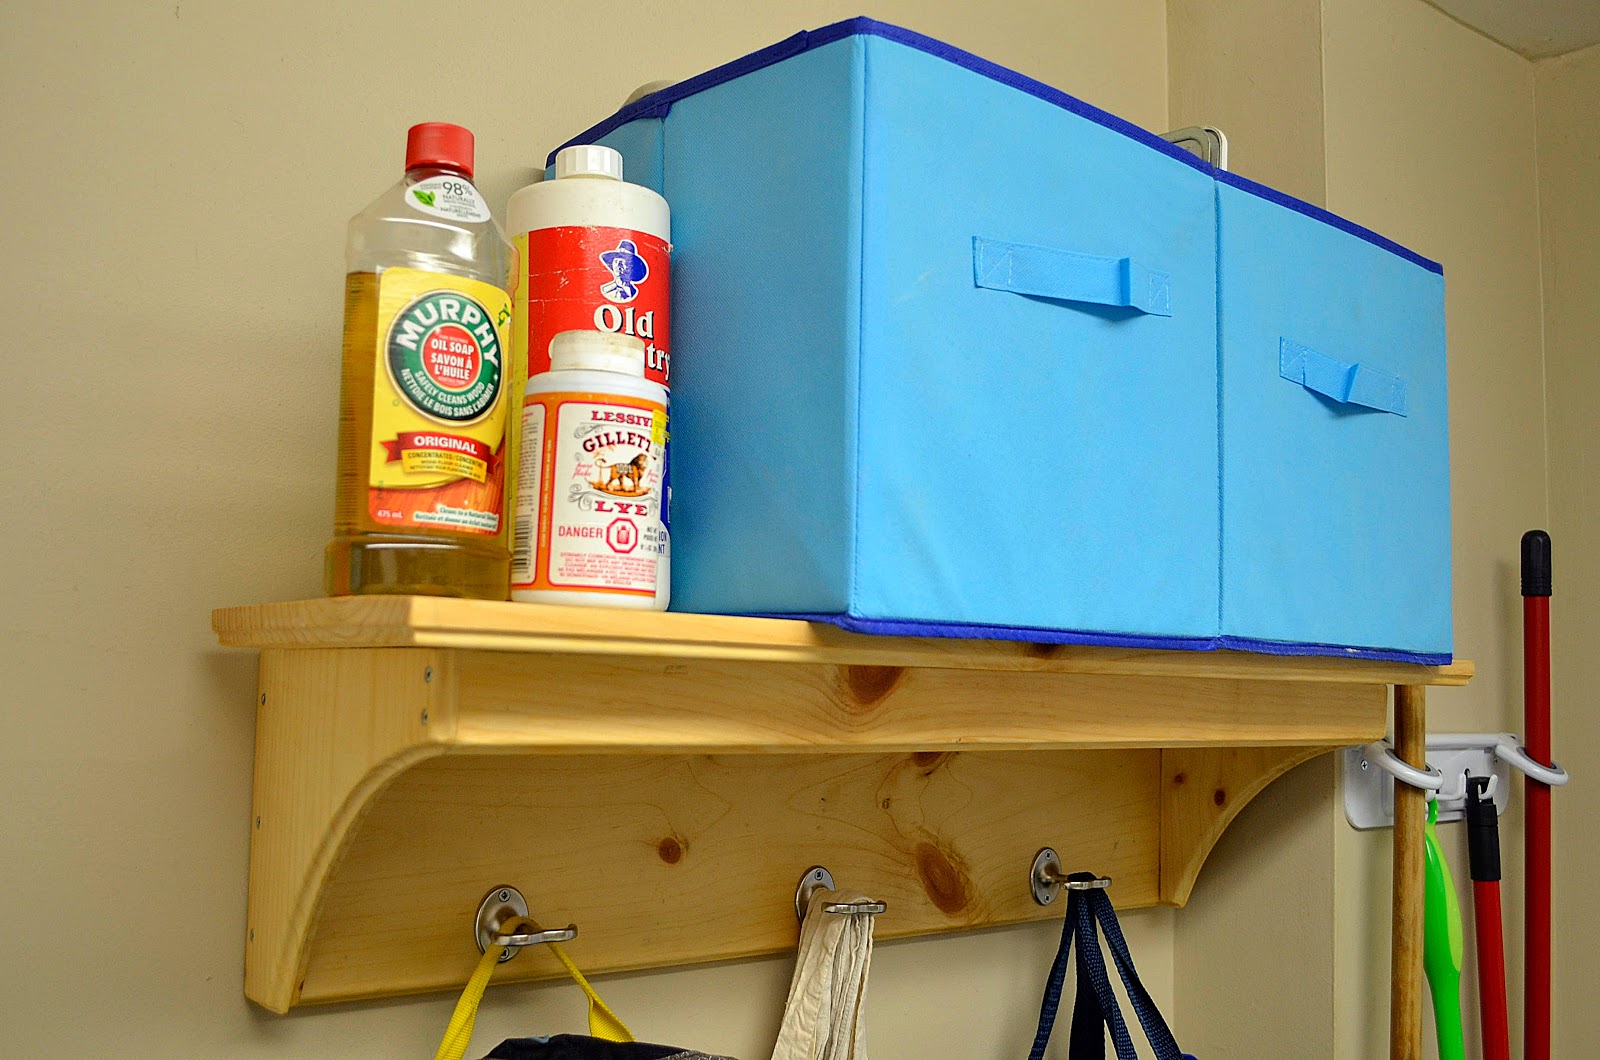
Finally, in order to be sure the shelf wouldn't fall off the wall if it was overloaded, I got out a stud finder, and secured it to the wall using some pretty hefty wood screws right into the wall studs. On either end I used a smaller butterfly anchor to hold things in place.
When I asked SWMBO if she wanted the shelf painted white to match the old one. She told me no, so I just sealed it with some linseed oil I had on hand. We'll see how that holds up.
My total cost on this project came to $10 and about 2 hours. That's less time than it would have taken to drive to Ikea and assemble one out of the box - and I got a product better suited to the room.
No comments:
Post a Comment
Please take a minute to share your thoughts!